Google Pay
Introduction
Paylands offers the possibility for your merchant to offer Google Pay as a way for your customer to provide their card details. Regardless of how you are going to use it, you need to first register as a merchant on Google Pay to get your own merchant ID which will later be associated with your Paylands account.
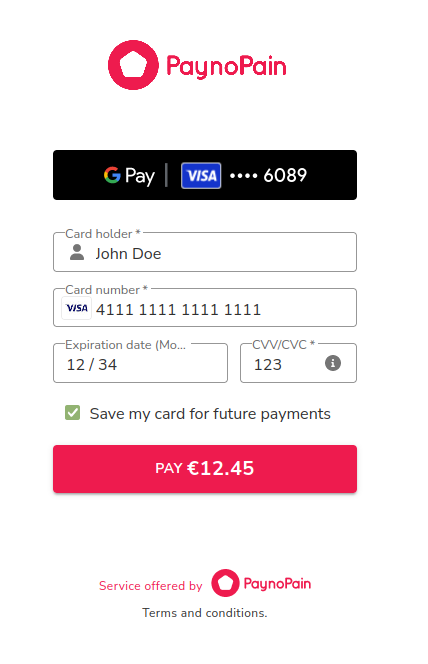
The easiest way to integrate it is through the payment card, where in addition to the ability for the user to enter their card details manually, the Google Pay button is included so the user can choose how to enter their card. Alternatively, it can also be integrated into your web or mobile app. More information is provided in the direct integration section.
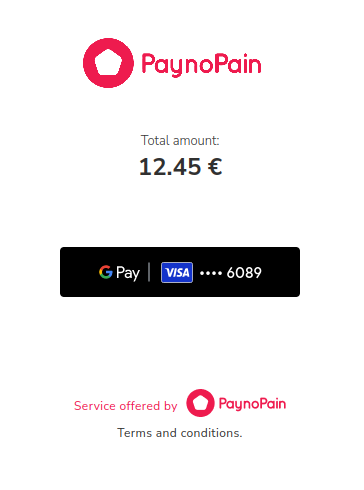
The following is an example of how Google Pay integrates into the payment page when it is shown as exclusively the only payment option, or is provided alongside the card input fields:
Register your merchant on Google Pay
If you have already done this step, you can skip to the Setup Google Pay in Paylands section. If you have questions you can also refer to the Official Google Pay for Business Setup Guide.
1. Access to the business console
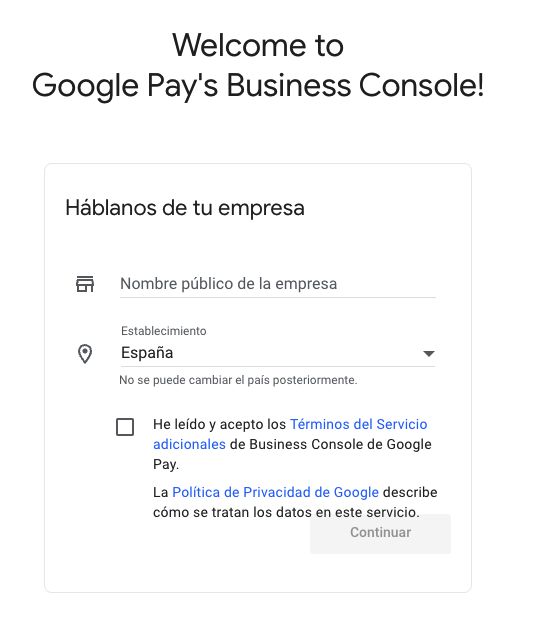
The first step is to register in the Google Pay for Business Console. Here we will have to indicate the name of the business, our country and accept Google's terms and privacy policy.
2. Google Pay ID
Once inside, at the top right we can find our Google Pay ID. This ID will be needed to configure it in the Paylands panel.
3. Register the website
As a last step we must register the merchant's website. To do so, go to the Google Pay API menu and click on Start.
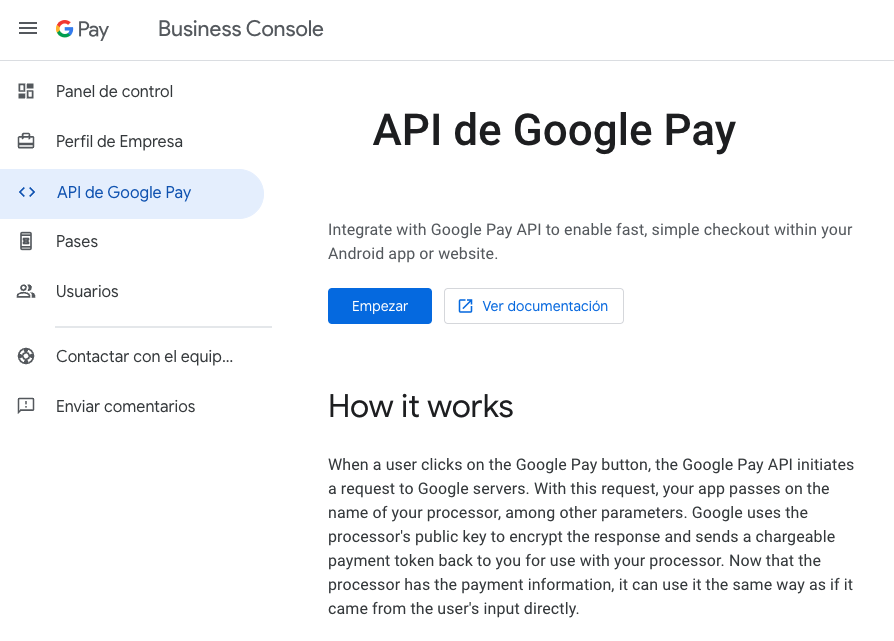
A pop-up window will appear with the terms of service that we will have to accept and we press the Continue button.
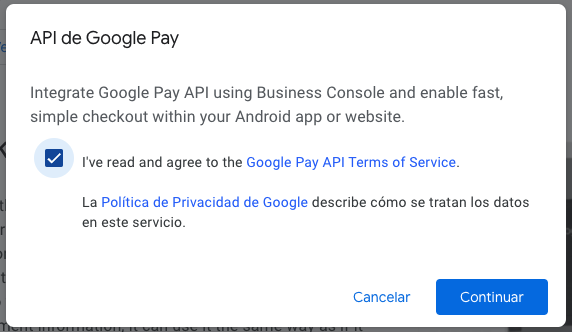
Once the terms are accepted we will access the Google Pay API configuration page. In this section we must scroll down until we find a block where we can register our merchant.

Click on the Add website option and the following form will appear that we will have to fill in indicating the URL api.paylands.com, the type of integration and photos that will be shown in the purchase flow.
As type of integration we must indicate Pasarela.
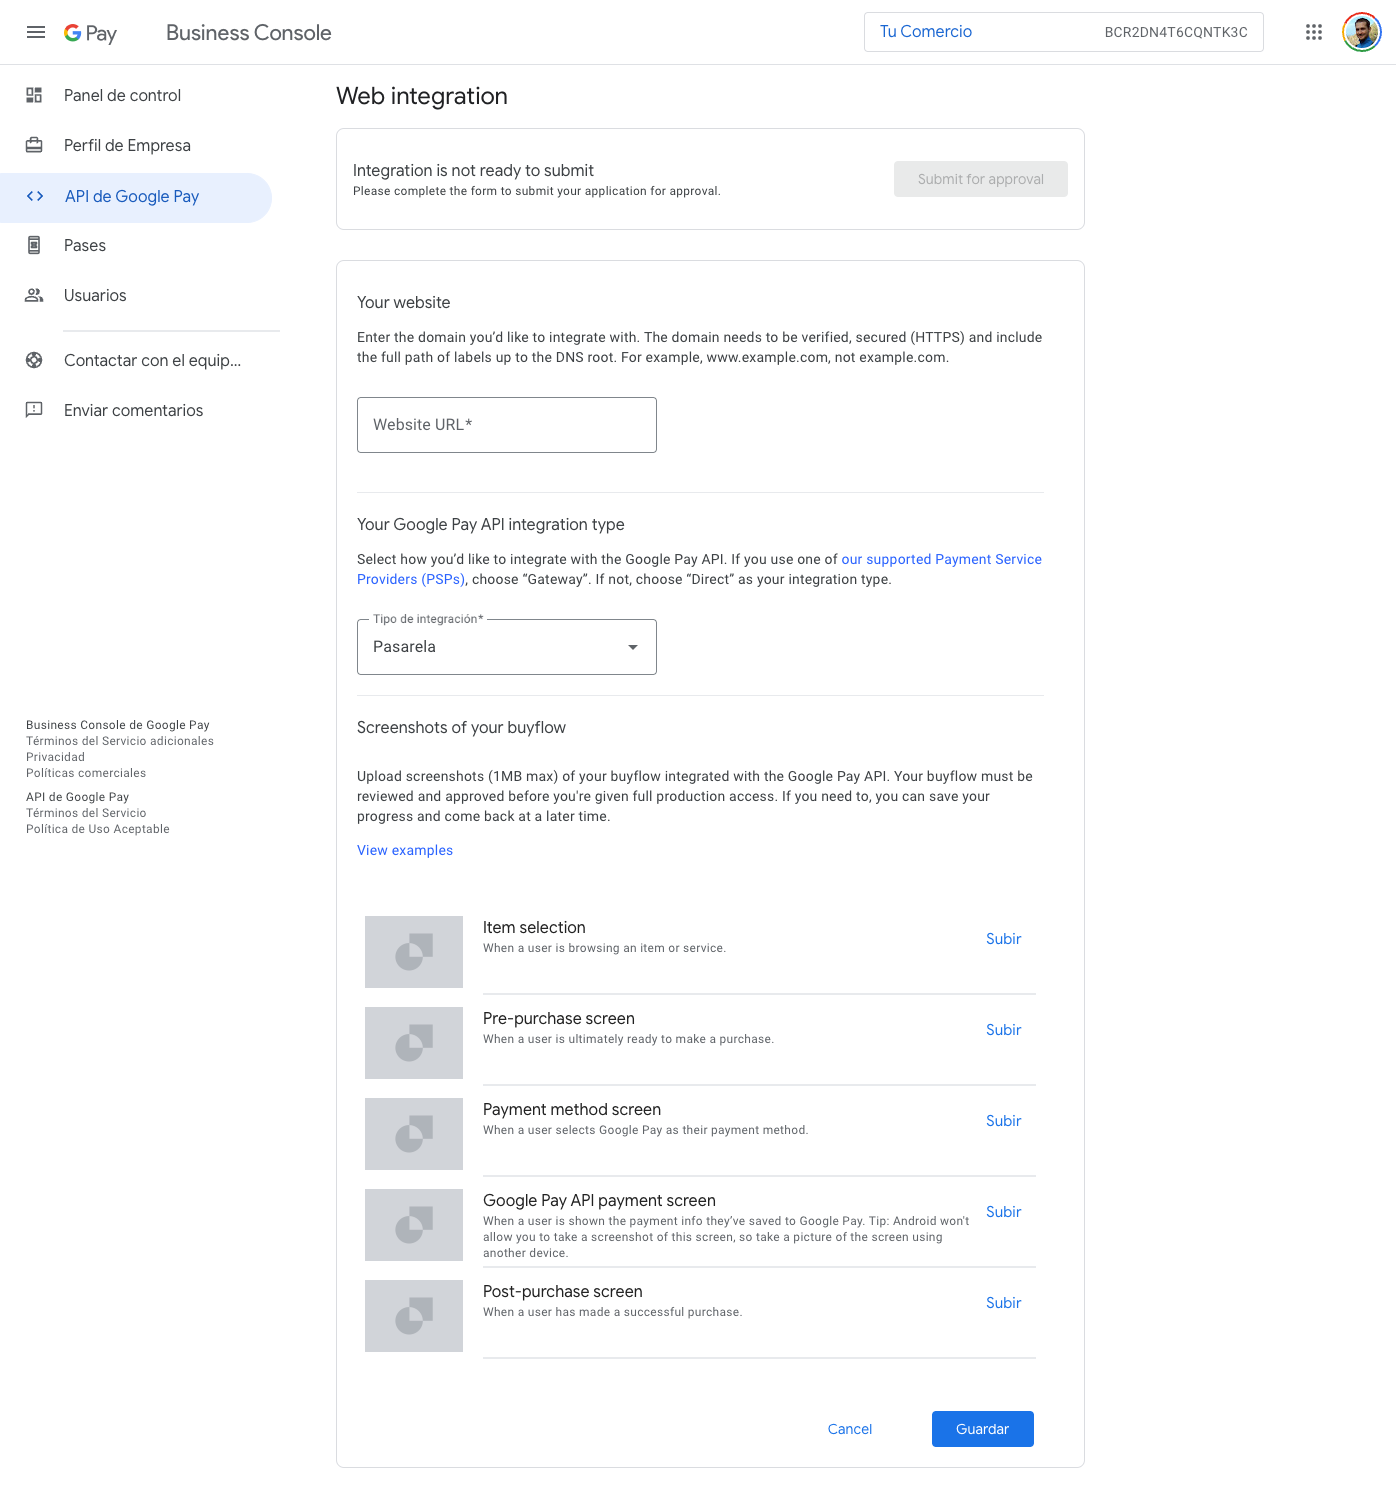
Once Google approves the web, from Paylands we will ask you for some credentials generated by Google and we will be able to test the Google Pay wallet in production.
Configure Google Pay in Paylands
To configure Google Pay you must follow these steps:
Register your merchant in Google Pay and save your merchant id.
Go to your customer profile in the Paylands dashboard and access the Alternative payment methods tab.
Enter your merchant id, a name to identify your merchant in Paylands, the website host from which the payment process is initiated and the country code.
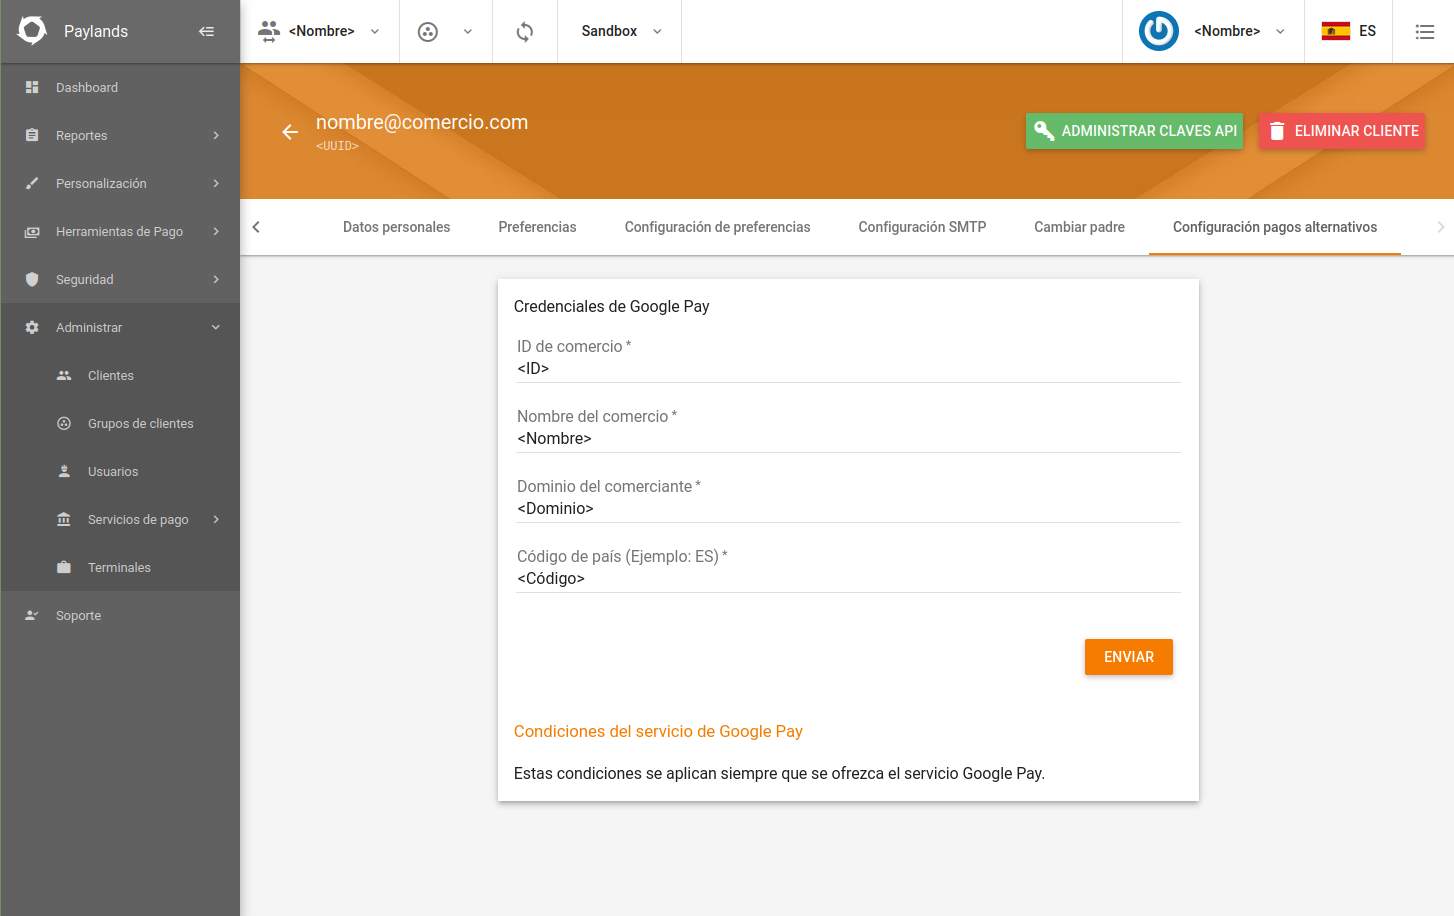
Contact Paylands support to use Google Pay in any of its modalities.
To get test cards in SANDBOX, join with your user to the following Google group.
Direct integration
Android integration
If you have an Android app, you must load the Google Pay button on the payment page. The Google Pay for Android documentation contains all the information you need to integrate it. Once the user confirms the card to pay with, an event will be triggered whose payload must be provided to our API in the payment via wallet endpoint to proceed with the payment.
In some of the steps of the tutorial it is necessary to specify the following configuration:
Step 2
gateway: paynopain
gatewayMerchantId: BFR+318Qe36w59SkUl2ECMRNJAfeW1e+Mv5r41/598MQjYHdZ0GfNK5CrRfSKYBCFj8eN7Uz5VG9+MgOoOSbXR8=
**Step 3
allowedCardNetworks: MASTERCARD, VISA
allowedCardAuthMethods: PAN_ONLY, CRYPTOGRAM_3DS